 The scythe competition season is getting underway with the British competition due to take place at the Scythe Festival in Somerset on 15th June.
Meanwhile, for those of you looking for a bit more adventure, I’ve been contacted by Aleksandr Shatokhin with an invitation slightly further afield. If you go, please email me, I’d love to hear the story.
Dear Mr. Tomlin!
I read on your site that you collected events about Scythes. I would like you to include in your list our scythe mowers competition held annually in Russia.
We conduct these competitions in the Ural Mountains (Sverdlovsk region) in the village of Arti.
Next our “4th Scythe Tournament” will be 12 July 2014.
Our events are collected mowers from all over Russia and some European countries. Maybe some brave mowers from UK would risk to take part in our adventure?
If this is interesting for you or you need more detailed information, please write to me.
Best regards
Aleksandr Shatokhin
Arti Scythe Works
http://kosari.ru/
ash2o@mail.ru


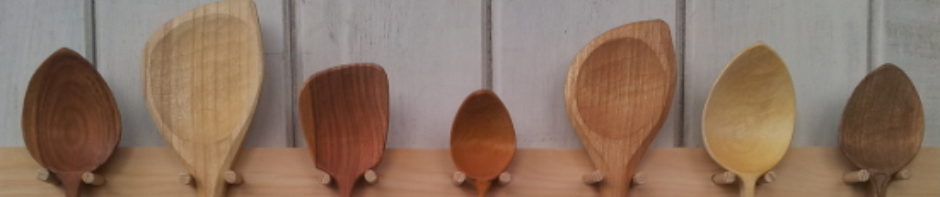
 Over the winter and spring I’ve been working on a range of new designs and I’m pleased to now have them for sale on my
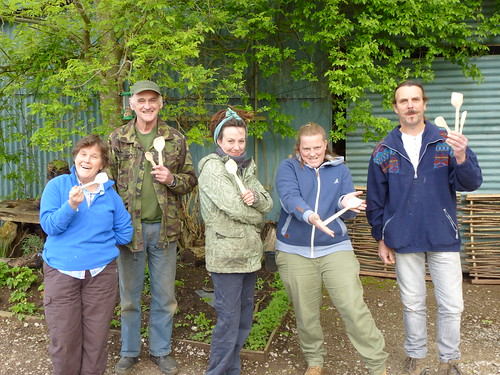
 With the all the people wanting to


 We started out by looking at samples of different grades and types of leather and discussing their qualities and uses. Ruth had brought beautiful British veg-tanned leather and explained the different ‘cuts’ and how to get the best from them by working with their natural qualities. I’ve looked through leather catalogues in the past and never really been sure what exactly the various terms mean so this was really valuable information.
 After a talk through her specialist tools and a demonstration of hand stitching we started making our own leather belts using top-quality bridle butt straps and brass buckles. A seemingly simple belt actually involves quite a number of processes to do properly including setting the buckle, finishing the edges and of course the stitching using two needles. This was the most time-consuming aspect of the belt but also the most pleasurable for me as it’s something I’ve often admired but never seen demonstrated. The method is fairly simple when you’re properly shown and a rhythm starts to develop after only a few stitches.


