 This photo shows why I was so keen to get turning beads with the skew chisel under my belt. After years of making post and rung chairs I’ve finally set my sights on making some windsor chairs so I’m investing time into building skills and sourcing tools for the work.
It’s taken me this long to get around to making a windsor because, up to now I’d never found them that interesting until I discovered American style of windsor chairs. The shapes are so much bolder to my eye than on English windsors with graceful curves and dynamic angles; a woodworking friend says they look like ‘a faun, ready to spring up and run away’. It’s that kind of movement I’ll be trying to achieve with my own chairs and a lot of it comes from the dramatic turning on the legs along with their splay. I’ve been inspired to this project principally by the work of Curtis Buchanan and Peter Galbert whose work you should check out if you’re interested in windsor chairs, They’re a tough act to follow but really something to aim for.
This leg is turned from a piece of birch as a reference model to use when I’m turning the real sets of chair legs which will be from some good straight ash I have.


 Well, no more of that, I’ve decided to go into 2013 with with me and the skew as working partners so I spent an evening watching whatever videos I could find online into just how people manage to turn over smooth beads without digging in. I’ve not posted any links because, honestly, there wasn’t really one video that had it all. In lots the camera seemed so far away or at such an angle that you couldn’t see the action or there was a perfect bird’s-eye view of the spinning timber but no idea what the person holding it was doing. Watch enough of them though and, assuming everyone’s doing it the same, you can piece together enough of a theory to take to the lathe; it worked for me.
 This was highlighted for me last week when I gave two sessions on setting-up the scythe for people buying them for Christmas presents. Heather & Annie came together wanting to also learn about mowing brambles and we spent some time outside while Pip just wanted to know how to fit all the parts together and is now eagerly awaiting the spring.


 Sometimes, you just want to take the piece of wood and beat the hell out of it. Thankfully, the other week when Phil, Frank and I did just that it was for good reason and not just to release some built-up frustration.
 It’s always easier to actually get on and try these ideas if there’s two of you so I mentioned it to my mate Phil Bradley who’s a basketmaker. He was immediately excited by the possibilities and the video links I sent so we met up on a damp day earlier this month for what we refer to as a ‘play day’ but should probably come under ‘continuing professional development’ or something.

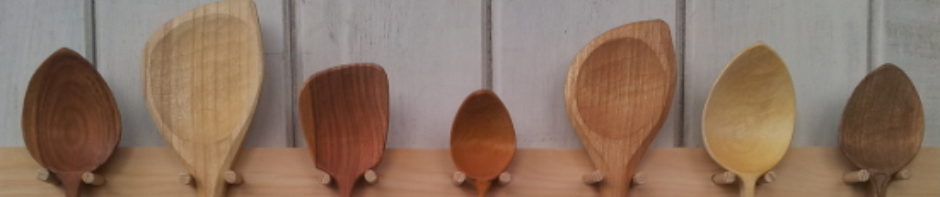
 Shrink pots are a simple project; a greenwood log is hollowed out and the inside smoothed using gouges before a shallow groove is cut on the inside at one end. A base is cut from a dry board which fits loosely inside the pot and is captured in the groove as the pot dries. I then shape the outside or leave it with a bark finish and fit lids once the pot has found it’s final shape. They look great for tea and coffee in the kitchen and have loads of uses around the rest of the house too.


-
Recent Posts
-
Privacy & Cookies: This site uses cookies. By continuing to use this website, you agree to their use.
To find out more, including how to control cookies, see here: Cookie Policy - June 2026
- April 2026
- March 2026
- December 2025
- October 2025
- August 2025
- July 2025
- June 2025
- May 2025
- April 2025
- March 2025
- February 2025
- November 2024
- September 2024
- August 2024
- July 2024
- June 2024
- May 2024
- April 2024
- March 2024
- January 2024
- November 2023
- August 2023
- July 2023
- June 2023
- May 2023
- April 2023
- February 2023
- January 2023
- October 2022
- September 2022
- August 2022
- July 2022
- June 2022
- May 2022
- April 2022
- March 2022
- January 2022
- November 2021
- August 2021
- July 2021
- June 2021
- May 2021
- April 2021
- March 2021
- February 2021
- January 2021
- December 2020
- November 2020
- October 2020
- September 2020
- August 2020
- June 2020
- May 2020
- March 2020
- February 2020
- December 2019
- November 2019
- September 2019
- August 2019
- July 2019
- June 2019
- May 2019
- April 2019
- March 2019
- November 2018
- September 2018
- June 2018
- May 2018
- April 2018
- March 2018
- February 2018
- January 2018
- December 2017
- October 2017
- September 2017
- August 2017
- July 2017
- June 2017
- May 2017
- April 2017
- March 2017
- February 2017
- January 2017
- December 2016
- October 2016
- September 2016
- August 2016
- July 2016
- June 2016
- May 2016
- April 2016
- March 2016
- February 2016
- October 2015
- September 2015
- August 2015
- July 2015
- June 2015
- May 2015
- April 2015
- March 2015
- February 2015
- January 2015
- December 2014
- November 2014
- October 2014
- September 2014
- August 2014
- July 2014
- June 2014
- May 2014
- April 2014
- March 2014
- February 2014
- January 2014
- December 2013
- November 2013
- October 2013
- September 2013
- August 2013
- July 2013
- June 2013
- May 2013
- April 2013
- March 2013
- February 2013
- January 2013
- December 2012
- November 2012
- October 2012
- September 2012
- August 2012
- July 2012
- June 2012
- May 2012
- April 2012
- March 2012
- February 2012
- January 2012
- December 2011
- November 2011
- October 2011
- September 2011
- August 2011
- July 2011
- June 2011
- May 2011
- April 2011
- March 2011
- February 2011
- January 2011
- December 2010
- November 2010
- October 2010
- September 2010
- August 2010
- July 2010